DIY BODY MARBLING KITS
MAKE YOUR OWN BODY MARBLING KIT
So you are new to Body Marbling and have a ton of questions. What type of paint should I use, how do you get the paint to float, where can I get the supplies to make a Body Marbling Kit? The Body Marbling industry is really tight lipped and protect their secrets. They will only give non specific details on how to properly put together a Body Marbling Kit. We decided to contact several of the top Body Marbling crews and none of them would give us any information on how it is done. But have no fear, we have figured out their secrets. It took our team many weeks to figure out the Body Marbling process.
YOU HAVE TRIED BODY MARBLING AND FAILED
We have heard from many people that have tried and failed to get the desired results that they see from the pros. This does not surprise us one bit. The problem is that Body Marbling is not as easy as it looks. There are many variables when setting up your Body Marbling studio. You must have the correct pre-soak, the correct skin-safe water-based marbling paint, and a proper post rinse for the paint to properly stick to your body. Most people that contact us were able to get the paint to float but were unable to get the results they were looking for because the paint would not adhere to their skin.
TYPES OF BODY MARBLING PAINT
There are many types of marbling kits available online but they are not meant to adhere to your skin. These marbling kits are made for decorating objects and not people and can even be hazardous. Using the correct skin-safe Body Marbling paint is extremely important. I would strongly advise to buy a full kit that comes with everything you need to start Body Marbling. Once you see how it works, you can make your own supplies. The kit we put together from our local arts and crafts store.
COMMERCIAL BODY MARBLING PAINT
One line of body paint we tried was marketed specifically for body marbling, non-toxic, and premixed. That kind of water-based body paint floats on water and can attach to skin quickly when the rest of your setup is right. Some lines also sell glow colors for black-light parties and ready-made kits with the main supplies in one box. We still wanted to learn the full DIY process ourselves, so we mixed our own after that — but a commercial skin-safe formula can shortcut the trial and error.
BODY MARBLING PROCESS
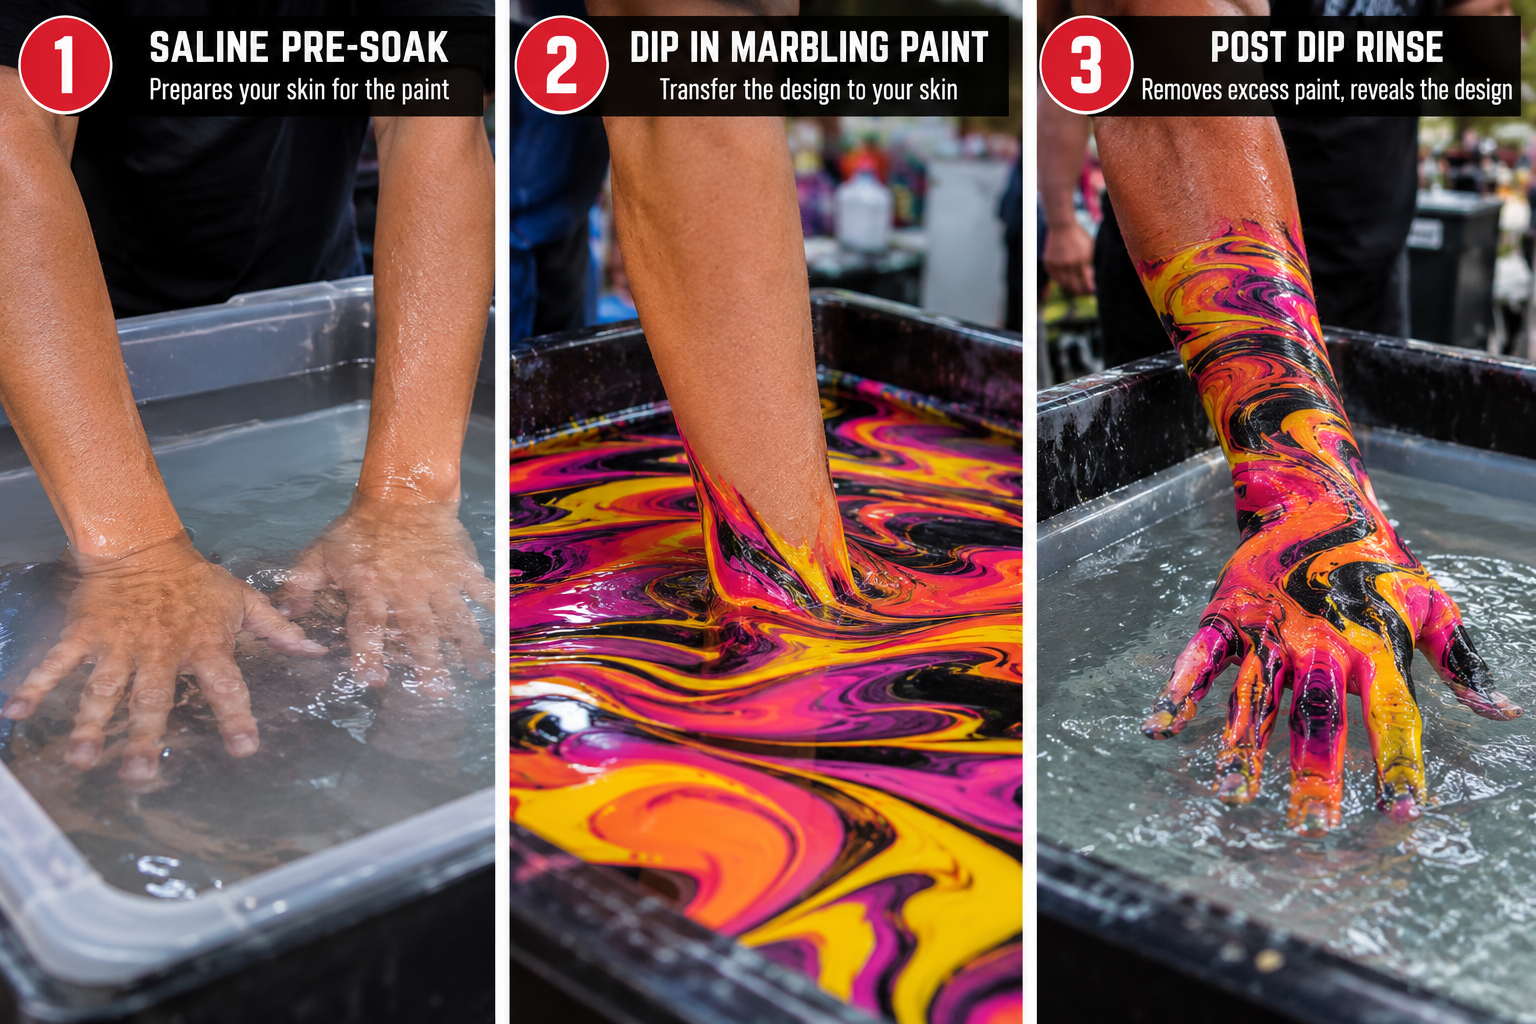
- This is the process we used to marble our arms. We are not saying that this is the way that the pros do it, but we got similar results. Before dipping our arms into the paint, we soaked them using a pre measured saline solution. Once you pre soak your arms, you allow it to dry naturally or use a hair dryer to speed up the process. The salt that dries on your skin will allow the water-based marbling paint to adhere to your arm.
- A few hours before doing our Body Marbling we prepared our water with a thickening agent and let it set until we were ready to get started. We found several non toxic food based thickeners that work very well. These thickeners are used in various types of food as a thickening agent. It took us weeks of practice to get the correct measurements to get the ink to float perfectly. We found that the thickening mix was good until it was completely saturated with paint or about three days, whichever came first.
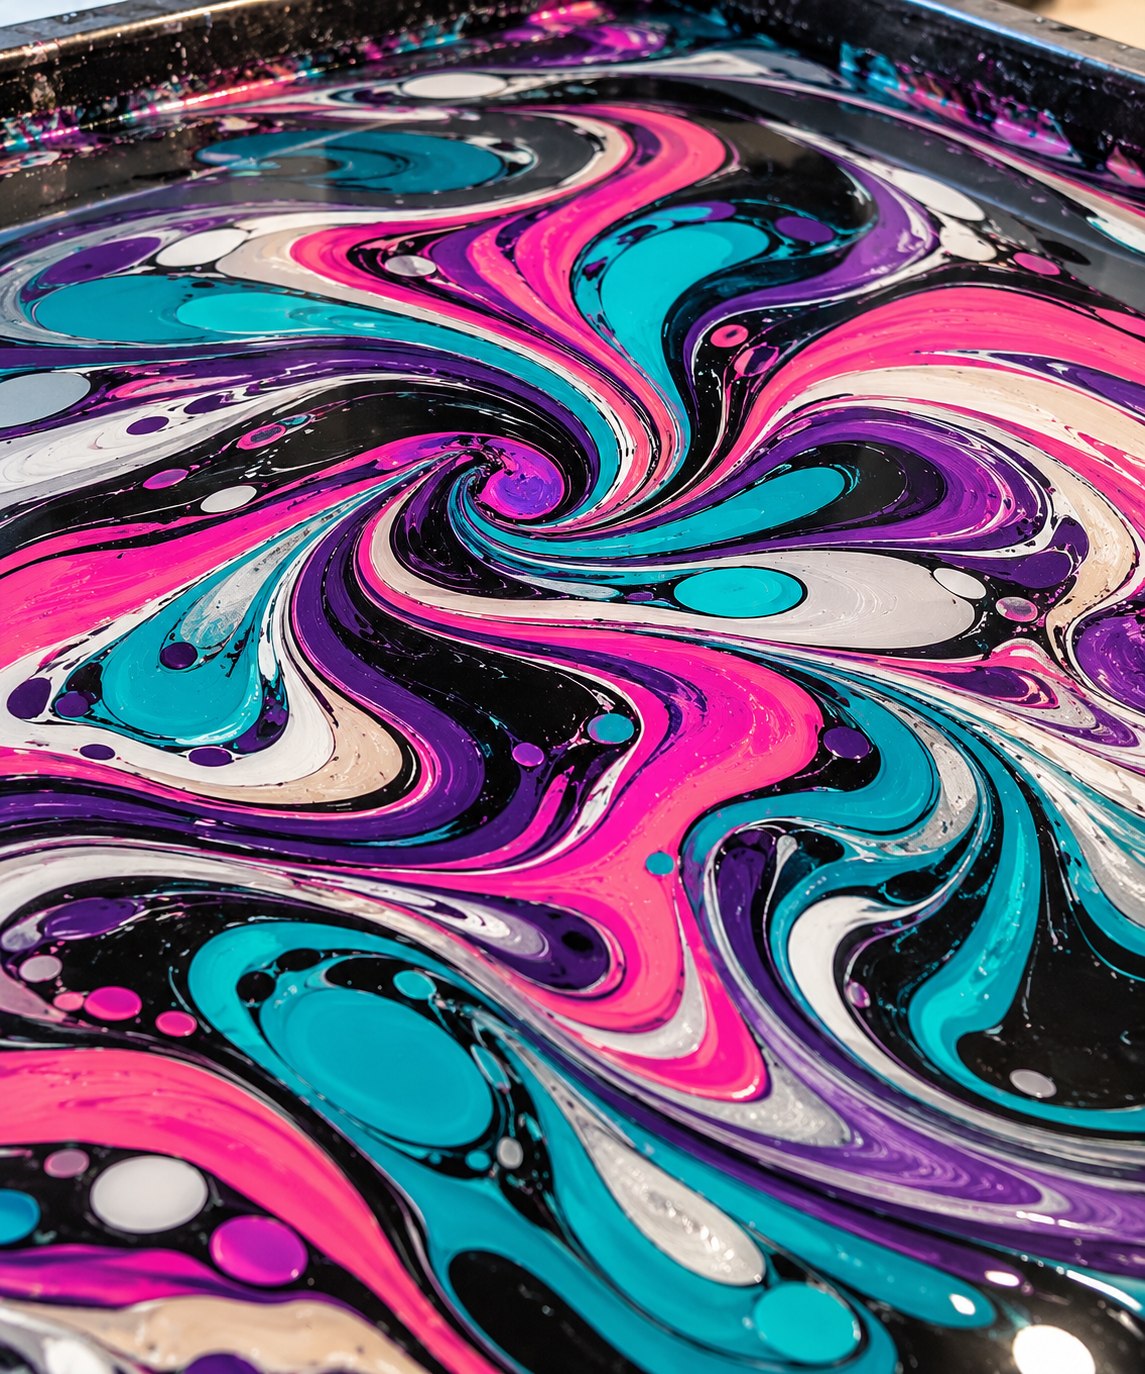
- The paint we used was craft-store fluid paint that you can buy at any hobby store (not wall paint). We mixed it with water and added a non toxic surfactant to get the paint to spread out over the water. When dropped onto the water, the ink should make a circle between one and three inches.
- We then slowly dipped our arms into the paint and achieved the desired results. It was amazing how far we came in a couple of weeks. There are many more details to the process but we didn't want to bore the average reader with all the in and outs. For our complete process, we put together an e book guide that you can download instantly with our complete detailed process that will have you marbling like the pros.